
Last updated September 20, 2026
Free on-site gate assessment - hinges, posts, and your LiftMaster or Nice gate operator checked before anything is quoted
The assessment is free and the quote is the invoice.


 Before
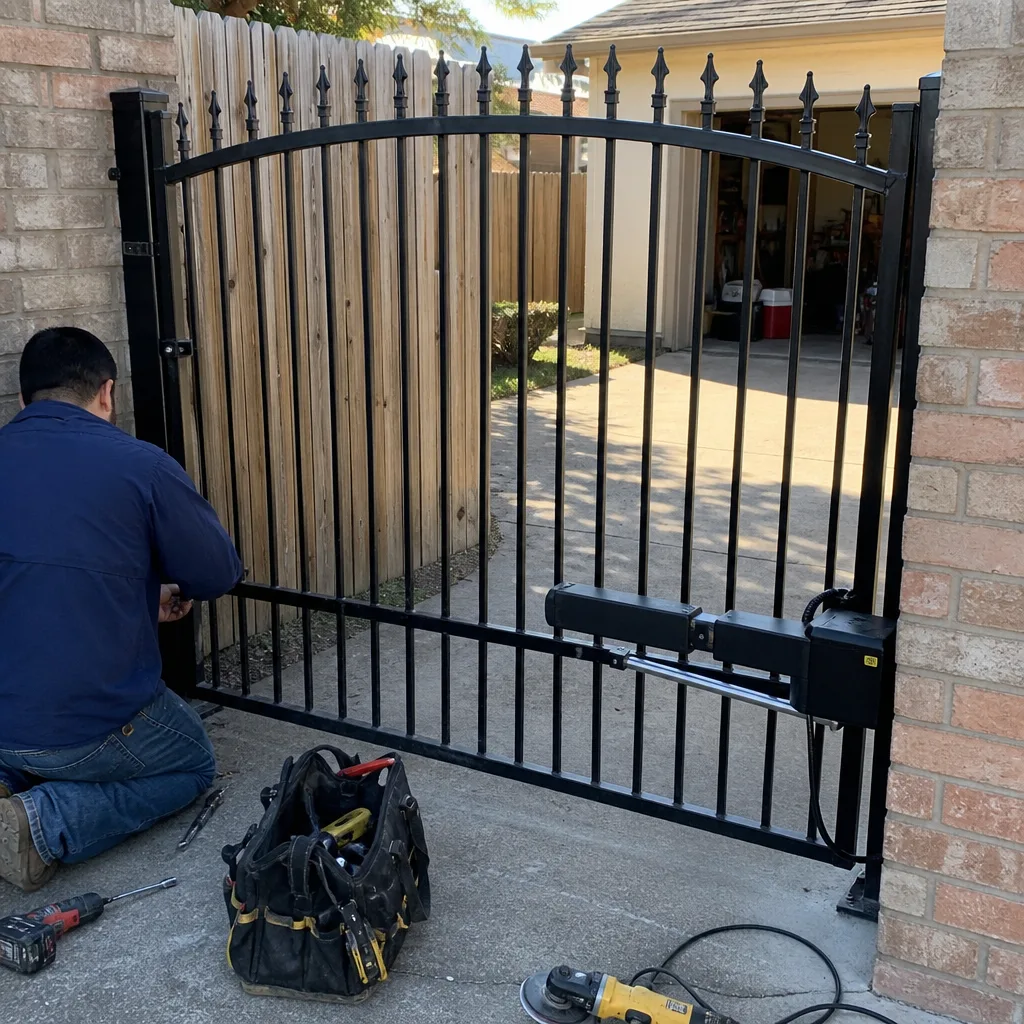 After
After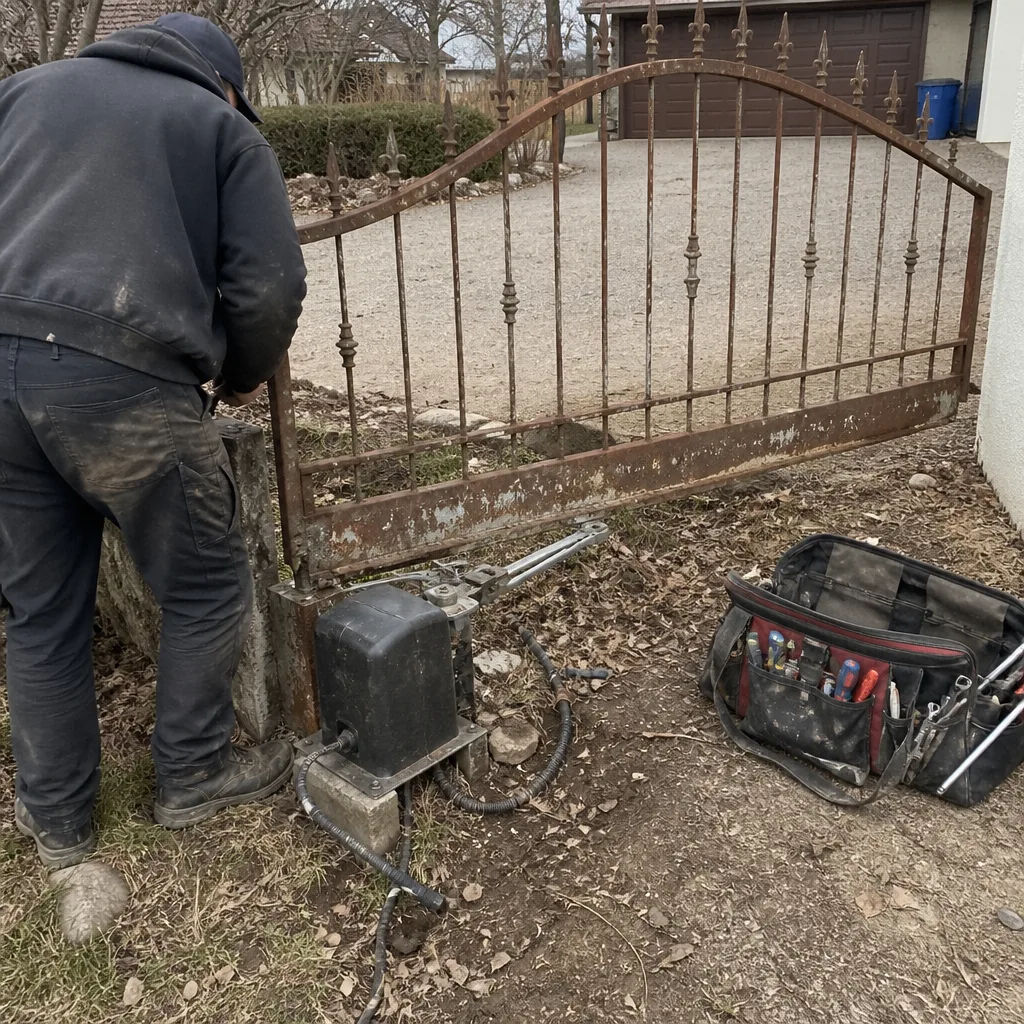 Before
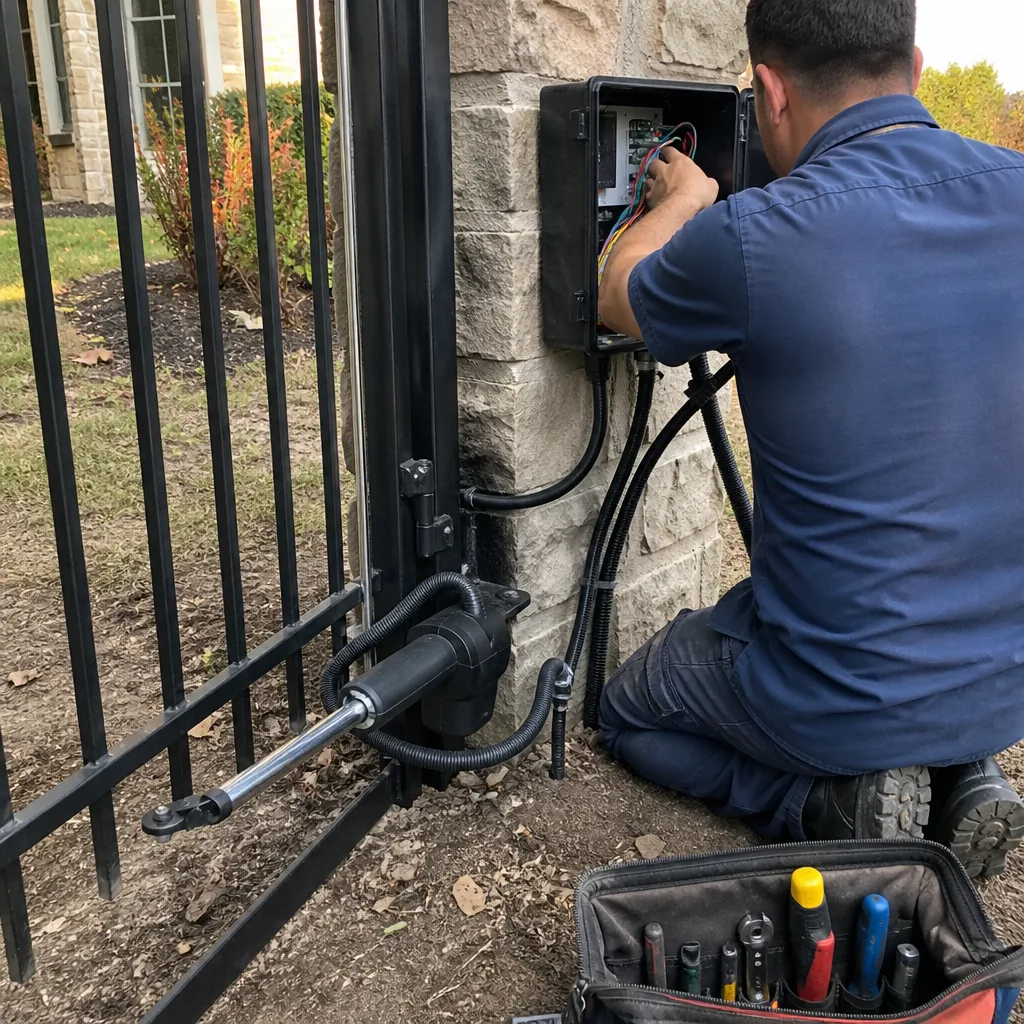 After
After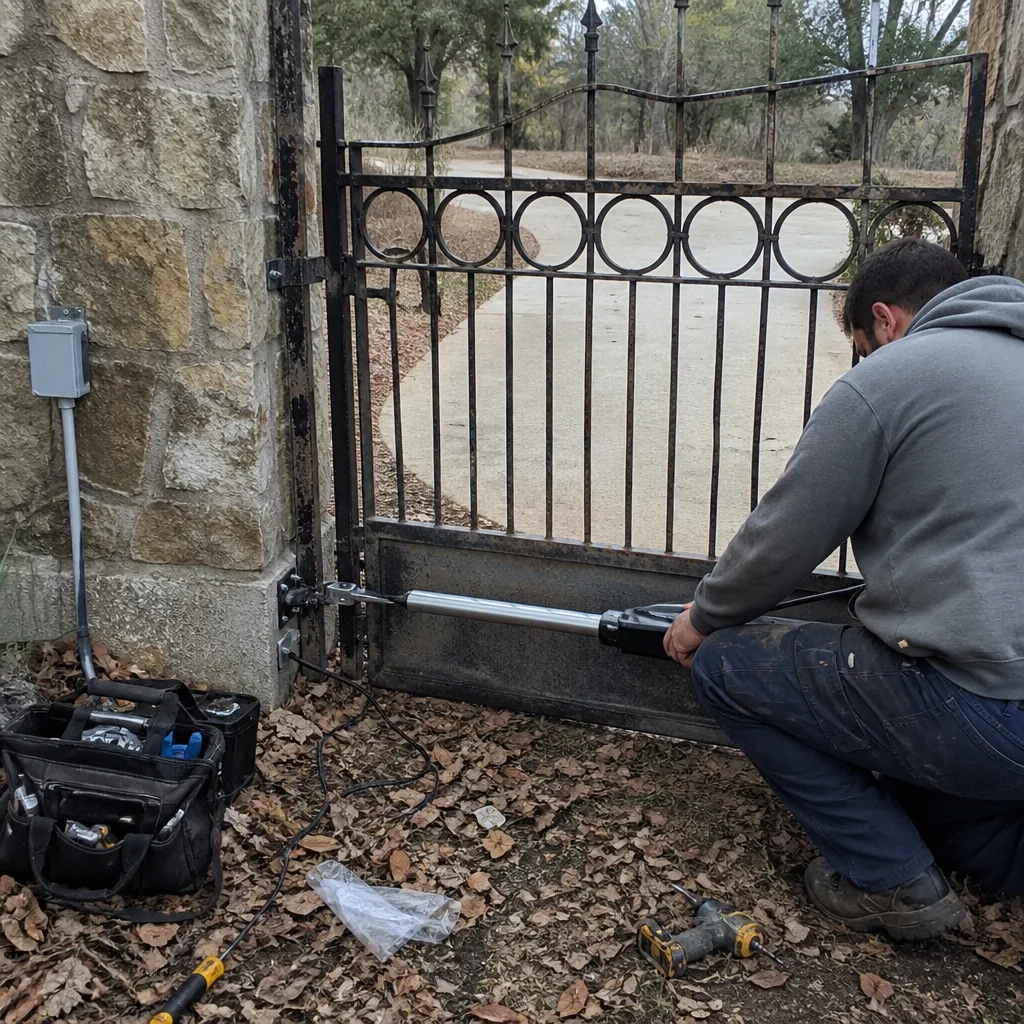 Before
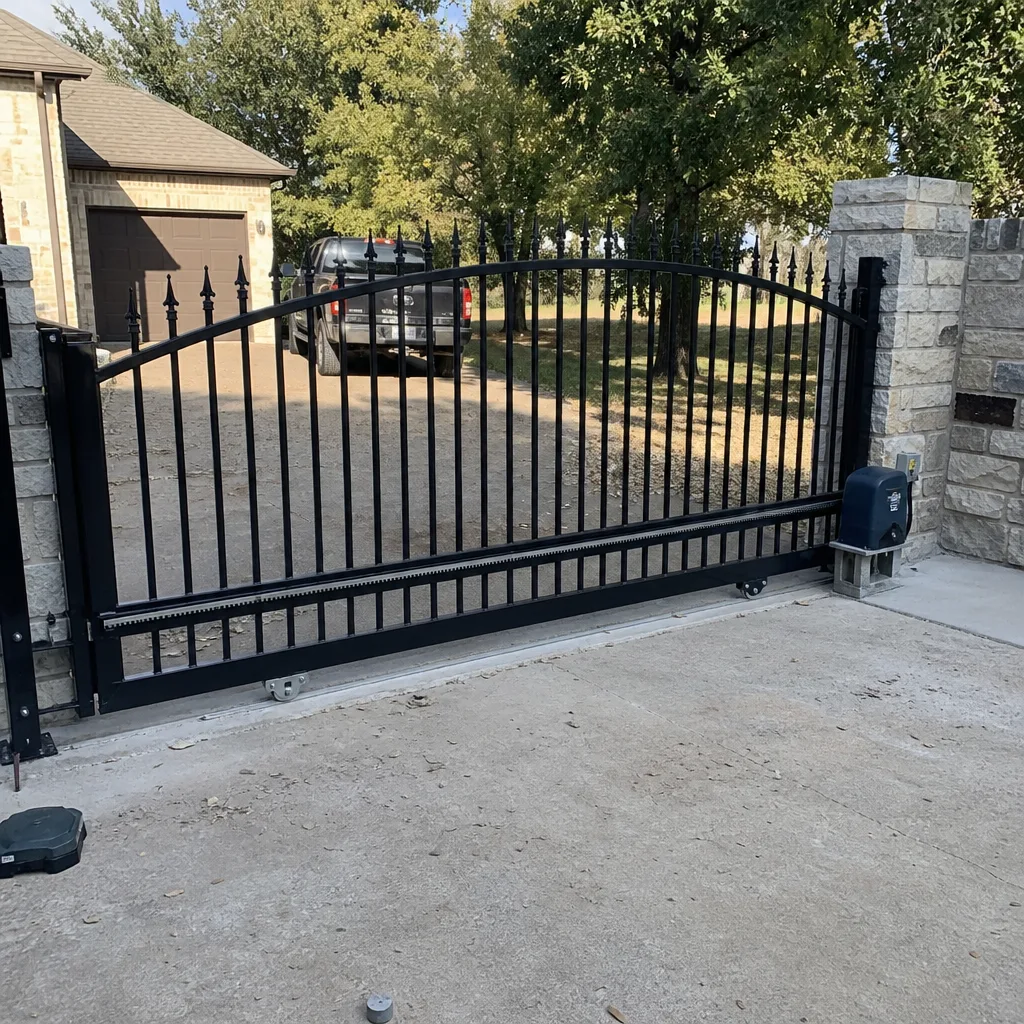 After
AfterDIY vs Professional Gate Repair: The Weatherford Homeowner’s Decision Guide
Here’s a number most Weatherford homeowners never hear: roughly four out of every ten gate operator replacements we perform are on units that were not actually dead. The motor worked. The board worked. What failed was a limit switch, a $12 capacitor, or a photo-eye knocked 3 inches out of alignment. The homeowner, reasoning that the gate wouldn’t move and the operator “looked original,” bought a new operator online. The new operator wouldn’t move either, because the underlying fault was still there. This guide and our more guides & resources exist to keep you out of that statistic. By the time you finish, you’ll know which gate tasks you can handle with confidence, which ones require reading the system’s prior state before touching anything, and where the line actually sits in Weatherford specifically.
Quick Answer
DIY gate repair is appropriate for tasks you can verify without recording prior conditions: lubricating hinges, replacing remote batteries, clearing obstructions, and re-seating a slipped chain. Professional help is warranted when the fix requires knowing what the system was doing before it failed, when safety devices like photo-eyes or contact edges are involved, or when the repair touches you on the UL 325 entrapment-protection requirements. In Weatherford, most homeowners can safely handle about 20 percent of all gate service calls themselves. The other 80 percent require diagnostic equipment and the habit of documenting what was found before changing anything.
Table of Contents
- What Weatherford Homeowners Can Actually Do Themselves
- The UL 325 Standard and Why It Changes the DIY Question
- How to Test Gate Operator Power With a Multimeter
- The Failure Types Where DIY Attempts Raise the Final Bill
- What to Write Down Before You Touch Anything
- The Real Cost Question: DIY vs a Professional Repair
- Common Mistakes to Avoid
- When to Call a Professional
- Frequently Asked Questions
BeforeAfterWhat Weatherford Homeowners Can Actually Do Themselves
The DIY versus professional question in gate repair is not about skill level. It’s about diagnostic access. A homeowner can competently handle anything that does not require reading the system’s prior state. A homeowner cannot competently handle almost everything else. The distinction is not about intelligence or mechanical aptitude. It’s about whether the fix can be verified without recording what came before it.
Here are the gate tasks that are genuinely owner-appropriate:
- Lubricating hinges, rollers, and chain drives. Use a lithium-based spray grease, not WD-40. WD-40 displaces water but it strips the lubricant the hinge already carries. Apply to the hinge pins on swing gates, the roller tracks on slide gates, and the chain on chain-driven operators. Do this every six months in Weatherford, and do it more often if your gate faces a dirt road or a construction site.
- Replacing remote and keypad batteries. If the remote blinks but the gate doesn’t move, the remote is not the problem. If the remote doesn’t blink at all, replace the battery first. A CR2032 or A23 battery costs under $4. This is the most common false alarm in gate service, and it’s a two-minute owner task.
- Reprogramming remotes and keypads that drifted off code. Most LiftMaster, Linear, and Viking receivers have a learn button on the board. Press it, then press the remote. If the operator clicks and the remote now works, the problem was the code, not the operator. We’ll say it plainly: if you know your operator’s model number, the reprogramming instructions are in the manual. If you don’t know the model number, that itself is the first thing a technician would look up.
- Clearing obvious obstructions. A branch in the track, a rock under the gate, a vine wrapped around a hinge. If you can see what’s blocking the gate and remove it by hand, do it. Then run the gate twice. If it moves freely both times, you fixed it. If it shudders or reverses, there’s a secondary fault and that’s the point where you stop and call someone.
- Re-seating a slipped chain or belt. Some chain-drive operators let the chain loosen over time. If the motor runs but the gate doesn’t move and the chain visibly sags, tightening the chain to the tension shown in the manual is owner-appropriate. Photograph the chain before you touch it. Photograph it after. Note which way you turned the adjustment bolt and how many turns.
What these tasks share: none of them require you to alter the system’s safety logic, none of them require disconnecting or rewiring anything, and all of them can be verified the moment the task is done. Gate opens. Gate closes. Done.
The UL 325 Standard and Why It Changes the DIY Question
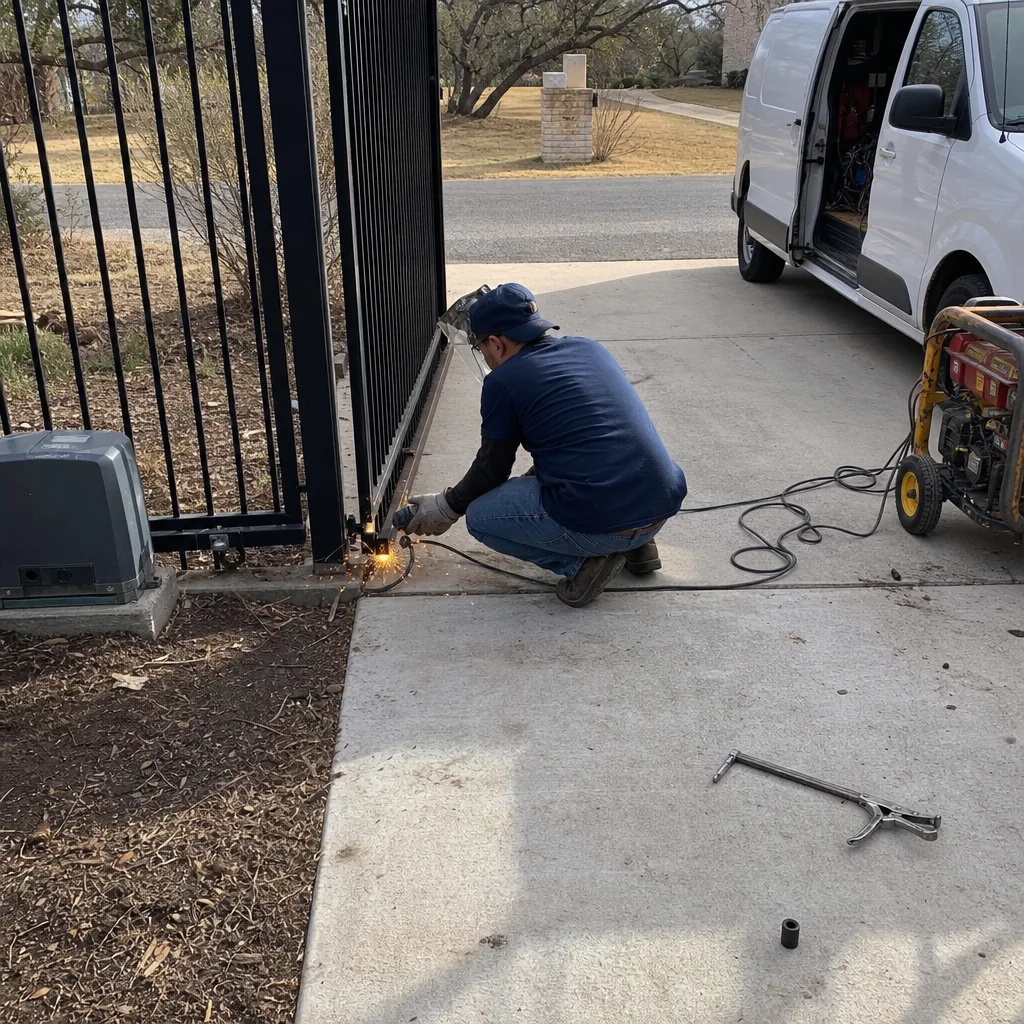
Since 2001, the UL 325 standard has governed automated gate construction and installation in the United States. The standard exists to prevent entrapment: a gate can crush, pin, or drag a person if its force and reversing logic aren’t set correctly. What most Weatherford homeowners don’t know is that UL 325 compliance attaches to the homeowner, not just to the installer. If a gate is found to have non-compliant safety logic and someone gets hurt, the homeowner’s own insurance carrier will ask who adjusted the operator last.
The entrapment protections you’ll find on a Weatherford gate:
- Photo-eyes: the infrared beam across the gate path. If something breaks the beam, the gate stops and reverses. Misaligned by 2 inches, it stops protecting anything.
- Contact edges or edge sensors: rubber strips along the gate’s leading edges that reverse on pressure.
- Inherent force protection: the operator’s built-in current sensing. If the gate hits resistance, the motor should reverse before it crushes.
- Alarm systems: required on gates that can’t be fully monitored, alerting when a gate is about to move.
Here’s the liability point. If a homeowner adjusts the force setting to “a little higher” because the gate was reversing on a windy spring day, and that adjustment later lets the gate pin a child’s bicycle, the homeowner has introduced the fault. Our Gate Repair services technicians set force with a gauge and record the reading. A homeowner adjusting force by feel is doing the same thing with the same risk profile, but without the documentation showing what the setting was before and after.
The same logic applies to misadjusted or disconnected contact edges. We’ve walked up to Weatherford gates where a prior owner unplugged the photo-eye because it kept false-triggering when tall grass swayed across the beam. The gate worked. It also would not have reversed if a child had crossed its path. The gate’s prior state had been altered and no one had written it down. That is not a judgment on the homeowner. It’s a description of how UL 325 liability accrues silently.
If a DIY task requires you to change a force limit, disable a sensor, relocate a photo-eye, or bypass a contact edge, you have left the owner-appropriate zone. Not because you can’t do the physical work. Because the legal exposure changes the moment you alter safety logic without recording the settings.
How to Test Gate Operator Power With a Multimeter
There is exactly one diagnostic step that meaningfully narrows the problem before any technician arrives. Testing for power at the operator. If you own a multimeter, even a $20 unit from a Weatherford hardware store, you can do this in about 10 minutes and it will change the service call from a diagnostic visit into a directed repair.
Here’s the sequence:
- Locate the operator’s power disconnect. On most Weatherford residential gates it’s a gray box on the wall near the operator, or a breaker labeled “gate” in the main panel. Do not open the operator’s internal wiring enclosure yet.
- Set the multimeter to AC voltage. Most residential gate operators in the U.S. run on 120V AC input. A few large slide gates run on 240V. If you know your operator brand and model, the plate on the side of the unit will state the input voltage.
- Test at the disconnect. With the disconnect on, place one probe on each line terminal. You should read about 120V AC (or 240V if that’s what the plate says). If you read nothing, the problem is supply-side: a tripped breaker, a failed disconnect, or a buried line fault.
- If power is present at the disconnect, test at the operator’s input terminals. You’ll need to remove the operator’s cover to access them. Kill power at the disconnect first, remove the cover, restore power, and test the input terminals. If you read 120V AC at the input terminals and the operator does nothing, the fault is in the operator itself: board, transformer, capacitor, or motor.
- Write down your readings. “120V AC at disconnect, 120V AC at operator input, unit unresponsive.” That single line saves a technician 20 minutes and tells them the problem is board-level, not supply-level.
What this test does is eliminate the most common ambiguous call: “the gate won’t open.” That call can mean a dead breaker, a burned control board, a failed capacitor, a bad remote code, or a mechanical bind. An owner who has already tested supply voltage has eliminated an entire category of failure. The technician who arrives knows they’re looking at the operator itself, not the power feeding it.
One safety note: if you’re not comfortable testing a live 120V circuit, stop at the breaker test. Reset the gate breaker, see if the gate responds, and call someone if it doesn’t. The multimeter step is useful, but no repair guide survives an electrocution.
The Failure Types Where DIY Attempts Raise the Final Bill
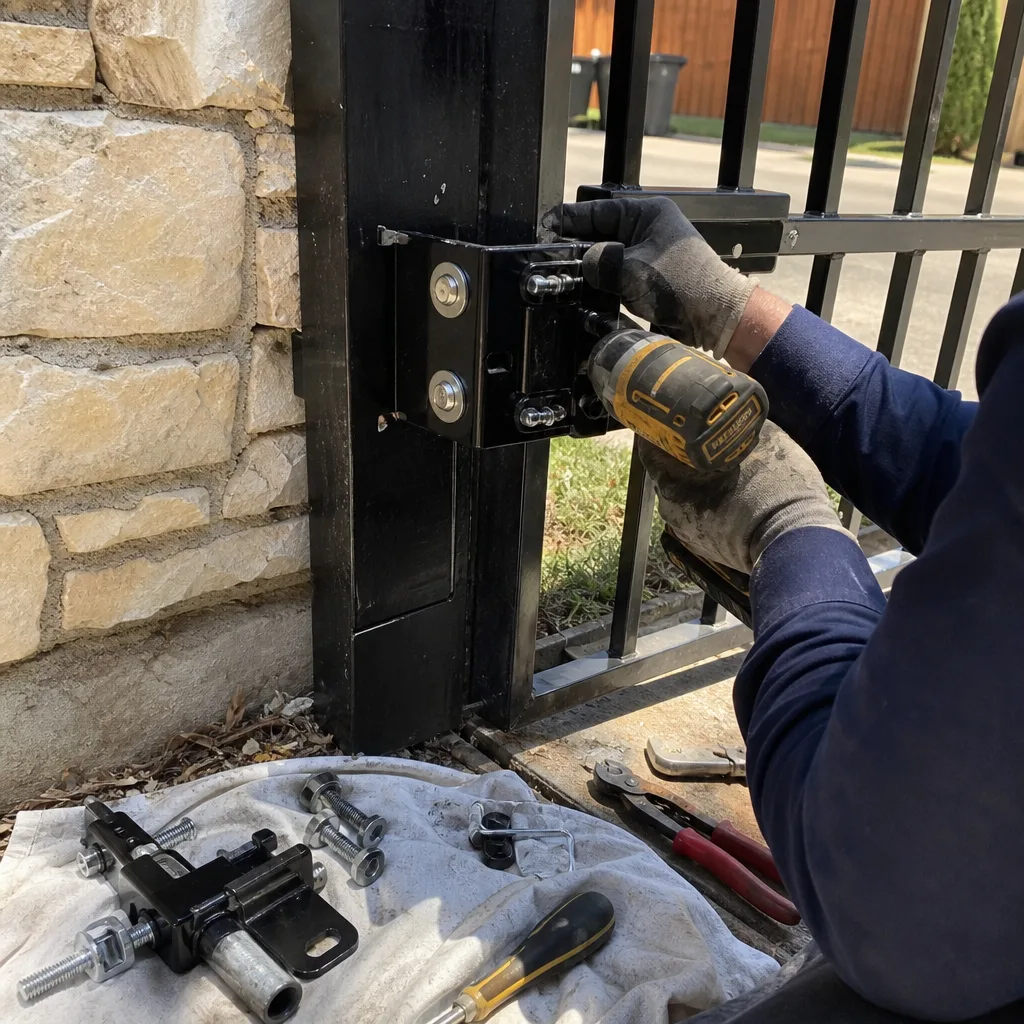
There are three failure categories where we’ve watched DIY attempts make professional diagnosis more expensive, not less. This happens often enough in Weatherford that we can describe the pattern without exaggeration.
Post movement. A swing gate that sags is almost always a post problem, not a hinge problem. The hinge may look worn because the post has shifted under load. A homeowner who sees the sag replaces the hinges. The gate still drags because the post is still moving. Now the hinges are new and the post is still out of plane, and the technician has to take the new hinges back off to do the post work that was always the real repair. Post-set in Weatherford’s clay soil requires concrete work and days of cure time.
Control board faults. Control boards fail in patterns. A board that works intermittently, works when cold but not hot, or drops specific functions is failing in a way that requires a technician to read the fault history, the board revisions, and the wiring. A homeowner who swaps the board themselves with a used unit from an online seller often introduces a mismatched revision. Then the new board won’t talk to the existing receivers. Then the original fault is still present. Now the technician is diagnosing two faults: the original one and the homeowner’s board swap.
Wiring faults. Buried low-voltage wiring failing is common in Weatherford, especially after heavy rain and frost heave. The symptom is usually an operator that runs but a photo-eye or keypad that doesn’t. A homeowner tracing the wire with a shovel will often sever the still-working portions or nick a second wire. A wire tracer costs less than the time it takes to find and repair the shovel damage.
Here’s the through-line. These three failure types share one trait: they require the technician to know what the system was doing before the failure. Post movement shows up as a hinge-gate alignment problem, but the prior state was a slowly shifting post. Board faults require reading revision numbers and fault codes. Wiring faults require impedance testing before the dig. In all three, the homeowner who alters the scene without recording the prior state is charging the technician for the extra hour it takes to reverse-engineer the change.
What to Write Down Before You Touch Anything
If you take one practice from commercial gate work and apply it to your residential gate, make it this: leave a documented record of what you found and what you changed. That habit, born on commercial access-control sites where a follow-up technician who can’t read the site’s history is a liability, is the difference between a gate that gets diagnosed once and a gate that gets diagnosed three times.
Here’s the minimum documentation for any DIY gate task:
- The date and the outdoor temperature. Some faults are thermal. A gate that fails at 95 degrees and works at 70 degrees is telling you something specific.
- The brand and model of the operator. The plate is on the side of the unit. Photograph it.
- What the gate was doing before you touched it. “Gate would open 18 inches then reverse” is useful. “Gate was being weird” is not.
- What you changed, with specifics. “Tightened chain tensioner 2 full turns clockwise” rather than “fixed the chain.”
- Any readings you took. Multimeter voltages, force readings if you have the equipment, a photo of the limit switch position before you adjusted it.
- What the gate did after your change. “Gate now opens fully but reverses 6 inches short on close” tells the next technician the operator’s close limit has drifted.
This is the difference between a gate that gets repaired in one visit and a gate that becomes a puzzle. Vance Gate Repair Weatherford leaves every customer with a photo log of what was found, what was set, and what was installed, filed in the job record. Not because it’s a marketing gesture. Because in 2014, when Adrian Vance moved from commercial access-control into residential gate repair, the first thing he noticed was that residential sites almost never carried the documentation habits of commercial ones. Homeowners would hand over a gate with no history and no notes. The next technician would start from zero. That habit is built into how we work, and the pragmatic version for a homeowner is the list above.
The Real Cost Question: DIY vs a Professional Repair
Here’s the price picture in Weatherford as of early 2026. A typical service call for gate diagnosis runs between $75 and $125, depending on the distance across Parker County and the operator type. A minor repair (limit switch replacement, photo-eye realignment, capacitor replacement) typically falls between $150 and $260 all in. A swing-gate motor replacement on a standard residential gate usually runs between $600 and $900 depending on brand and whether the arm bracket is intact. A full operator replacement with new photo-eyes, a new contact edge, and new wiring typically lands between $1,200 and $2,400, again brand-dependent.
Now compare that to the DIY version gone wrong. A homeowner buys a $350 operator online. It doesn’t fix the fault because the fault was a failed capacitor. The homeowner has spent $350 and an afternoon. The gate still doesn’t move. The technician arrives, diagnoses the failed capacitor in 20 minutes, and charges $220 including the part and the trip. The homeowner is in for $570 instead of $220, and the unused operator sits in the garage.
The DIY path is not cheaper when the diagnosis is wrong. It’s the most expensive mistake a Weatherford homeowner can make on a gate: paying for a new part the gate didn’t need while the original fault remains untouched. If you can name the fault with certainty, buy the part. If you’re buying the part to find out if it’s the fault, you’re gambling. And the house always takes a cut.
We should also state the obvious because it doesn’t get stated enough: every professional repair at Vance Gate Repair Weatherford starts with a written price before any work starts. No diagnostic fee that turns into an open-ended invoice. No “we’ll see how it goes” pricing. The flat quote is handed over before the technician picks up a tool, under Haven Standard Clause 1: have it in writing. If the written number is too high, the homeowner says no and we leave. That’s the entire arrangement. It costs you nothing to find out the number. And the number itself arrives written, fixed, and documented.
Common Mistakes to Avoid
- Replacing the operator before testing supply voltage. The gate won’t move because the breaker tripped or the disconnect failed. You buy a new operator. It also won’t move. Test power first. This single mistake is responsible for roughly 30 percent of the unused operators we see in Weatherford garages.
- Adjusting force by feel. A gate that reverses on a windy day gets its force turned up “a little.” Now the gate will push through a small obstruction. That is a UL 325 violation and an injury waiting. Force adjustments require a gauge and a written reading afterward.
- Replacing hinges on a sagging swing gate without checking post movement. The post moved. The hinges were fine. Now you have new hinges on a gate that still drags, and the real repair costs more because the new hinges have to come off.
- Digging up buried gate wiring without locating it first. The wire is usually no deeper than 18 inches and it runs in a straight line from the operator to the photo-eye or keypad. A shovel will find it and sometimes cut it. Wire tracing is cheap. Splice repair is not.
- Disabling a photo-eye because it false-triggers. In Weatherford, spring grass growth across the beam and heavy morning dew cause false reverses. The fix is relocating the photo-eye or trimming back the grass. Disconnecting the photo-eye removes the only entrapment protection across the main gate path. Don’t do it. Don’t leave a gate that way.
- Buying a used control board with no revision check. Control boards have revision numbers for a reason. The board from an older FAAC or BFT unit may not talk to your existing receivers. Verify the model and revision before buying anything used.
- Calling a gate company when you have no idea what the gate was doing. If you can’t describe the prior state, the technician has to discover it by testing tolerance. You pay for that time. Write down what the gate does and when. It’s the cheapest diagnostic tool you own.
When to Call a Professional
Call a professional when the repair requires reading the system’s prior state and recording the change: control board faults, wiring faults, post movement, operator replacement, force-limit adjustment, photo-eye relocation, or any change to the gate’s UL 325 entrapment protections. Also call when the gate’s failure involves anything you’d describe as “intermittent.” Intermittent faults are the most time-expensive to diagnose, and a technician’s meter moves faster than a homeowner’s experiment. Vance Gate Repair Weatherford offers free estimates in Weatherford, and a live person answers at (940) 353-4158 any hour of any day. The written quote costs nothing and obligates nothing.
Frequently Asked Questions
You can replace the remote batteries, reprogram the remote, clear obstructions, lubricate hinges, and test supply voltage with a multimeter. You should not replace a control board, adjust force limits, relocate photo-eyes, or swap an operator without recording the system’s prior state, because those changes alter the gate’s UL 325 entrapment protection and create liability exposure if the gate is not set correctly. For any Weatherford gate repair that goes past owner-appropriate tasks, see our Gate Repair Maintenance Checklist for Weatherford Homeowners and call (940) 353-4158 for a free written estimate.
The most common reason in Weatherford is a power supply interruption at the disconnect or breaker, followed closely by a drifted limit switch. Both are easy to test. If a multimeter shows 120V AC at the operator input and the gate is still dead, the fault is in the operator itself. A technician can isolate the board, capacitor, or motor with a meter and give you a written price for the specific part that failed.
Minor gate repairs in Weatherford typically run between $150 and $260, including a diagnosis, the part, and the labor. Motor replacements on a standard swing gate generally land between $600 and $900. Full operator replacements with new safety devices and wiring run $1,200 to $2,400. Every Vance Gate Repair weatherford vehicle carries a written price before the work starts, so the number never drifts upward after the fact.
UL 325 is the national safety standard for automated gate construction and installation, requiring photo-eyes, contact edges, force protection, and alarm systems that prevent the gate from crushing or pinning a person. Every automated gate in the U.S. is required to meet it. Homeowners who alter force or disable sensors take on the legal exposure for any injury that follows, and insurance carriers do ask who last adjusted the operator.
Repair the operator until the repair cost reaches roughly 60 percent of a replacement. A failed capacitor, a drift limit switch, or a misaligned photo-eye are repair-level faults. A burned motor winding, a corroded board, or a snapped internal gear often makes replacement the smarter call. A technician who can tell you which fault you have, in writing with a part number, is the difference between spending $180 on a capacitor and $800 on an operator the gate didn’t need.
Yes. Vance Gate Repair Weatherford gives a free written estimate on every service call. The price is handed over before any work starts, not after. If the number is too high, you decline and we leave with no charge. That policy is the point of Have in writing, and it means the cost of finding out the price is always zero. Call (940) 353-4158 and a live person answers.
The Bottom Line
The DIY versus professional decision in gate repair comes down to a test you can run on any task: does this require knowing what the gate was doing before it failed, or can I verify the fix without recording anything? If you can verify it without recording the prior state, it’s owner-appropriate. Lubricate, replace batteries, reprogram remotes, clear obstructions, test voltage. If the fix touches safety logic, control boards, buried wiring, post movement, or force settings, the prior state matters and the home is a safer, cheaper place when a professional records it. Most of our Weatherford service calls start with a homeowner who reached the same line. The ones that don’t start with a gate that’s been altered without notes. The difference shows up in the invoice.
Contact Vance Gate Repair Weatherford
If your gate won’t move, won’t stay closed, or won’t stop when it should, call Vance Gate Repair Weatherford at (940) 353-4158 for a free written estimate. A live person answers 24 hours a day, every day, and every visit includes a documented photo record of what was found, what was set, and what was installed. We service every major gate automation brand on the market, including FAAC, BFT, Linear, and Viking, and we never steer you toward a replacement when a repair is the right answer. Read more about our Weatherford gate repair service, or explore our gate installation and gate motor and opener pages. You can also start at the Vance Gate Repair Weatherford home page for the full scope of what we do.
Written by Adrian Vance, Owner at Vance Gate Repair Weatherford, serving Weatherford since 2014.