
Last updated September 20, 2026
Free on-site gate assessment - hinges, posts, and your LiftMaster or Nice gate operator checked before anything is quoted
The assessment is free and the quote is the invoice.


 Before
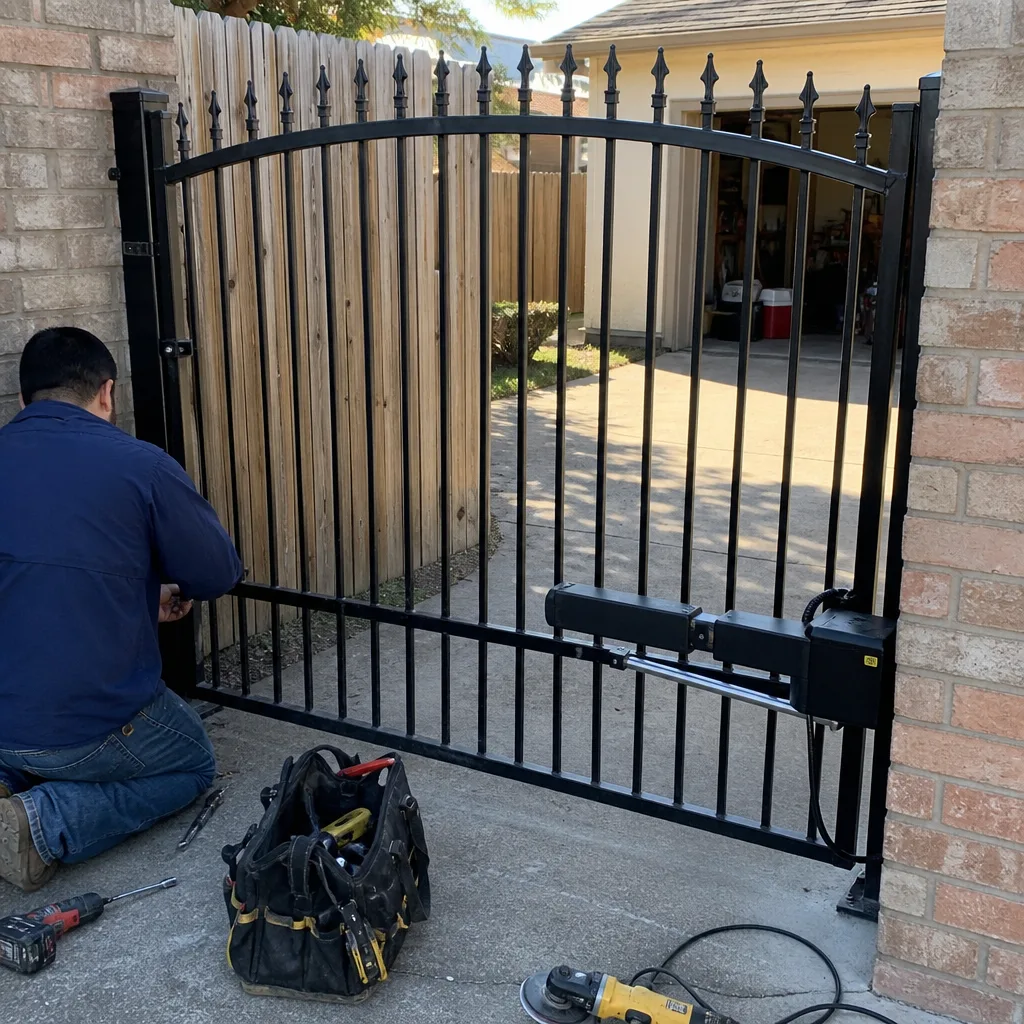 After
After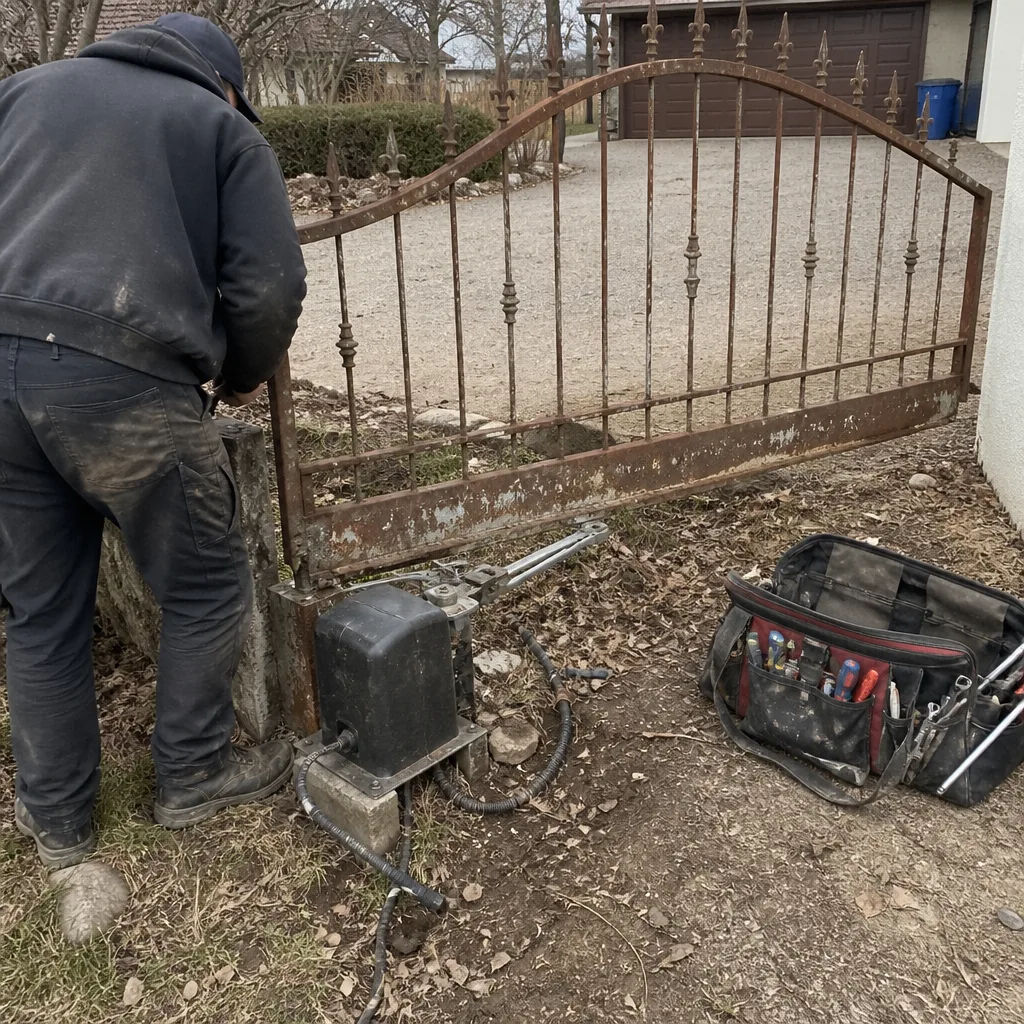 Before
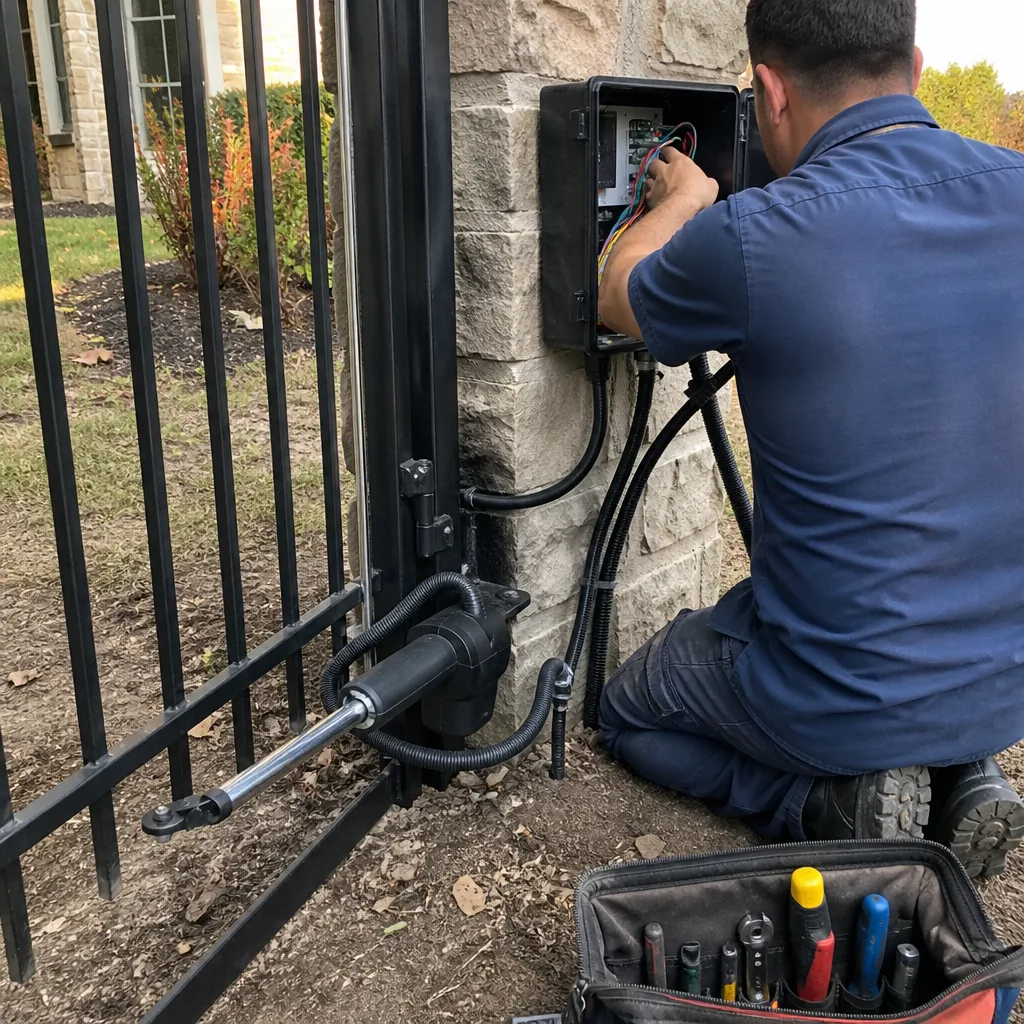 After
After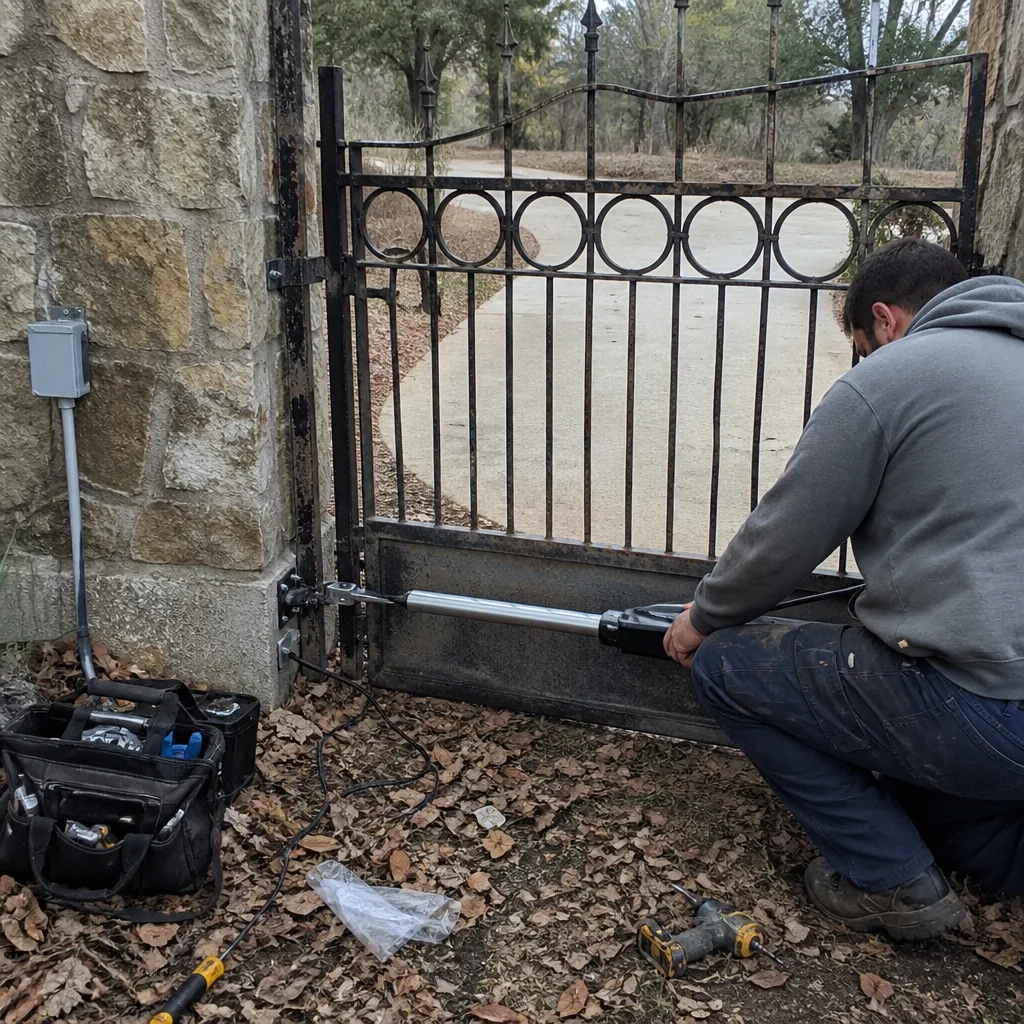 Before
 After
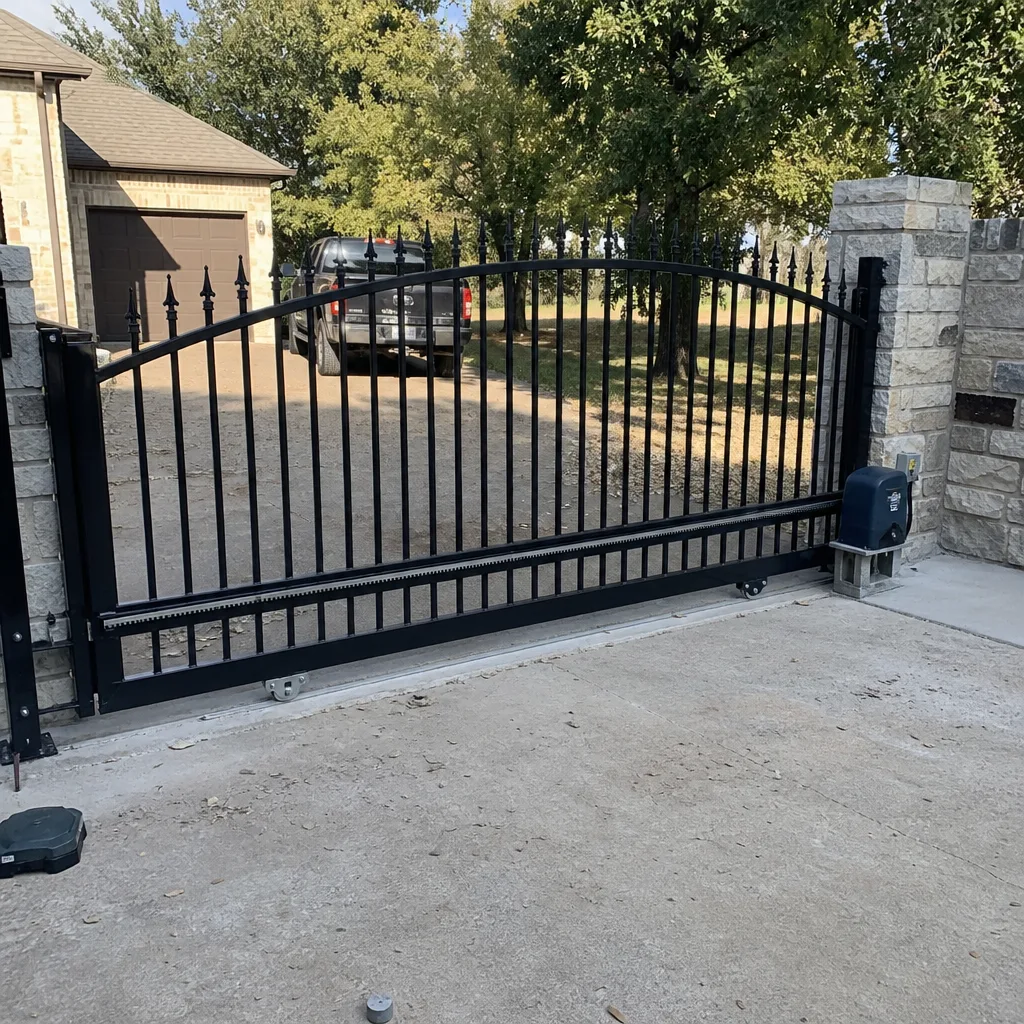
AfterGate Repair Maintenance Checklist for Weatherford Homeowners
Most gate maintenance checklists were written for a climate that isn’t Weatherford’s. They mention lubricant and rust and maybe a battery check, then stop. They skip the two checks that prevent roughly 60% of the service calls we run in Parker County: limit-switch drift from summer ground expansion, and hinge-plate cracking in cedar posts. This guide is built around what actually fails here, in this soil, under this heat, on the gates people actually have in Weatherford. You’ll get the full checklist, the local reasons behind each line item, and a clear line between what you can check yourself and what genuinely needs a technician. For more, see our Gate Repair Warning Signs: A Weatherford Homeowner’s Reference Guide.
Quick Answer
A useful Weatherford gate maintenance checklist covers four things: the motor’s limit settings (which drift as caliche soil expands and contracts), the hinge plates and post attachment (cedar posts crack differently than steel), the battery backup (Texas heat shortens battery life faster than manufacturer specs suggest), and a dated photo record so changes are measurable over time. Run the full checklist twice a year, in late spring before the heat peaks and again in late fall after the first heavy rain.
Table of Contents
- Why Weatherford Conditions Create Specific Gate Failures
- The Limit-Switch Drift Check Most Checklists Skip
- Hinge Plates and Cedar Posts: The Cracking Pattern to Watch
- Battery Backup Voltage in Texas Heat
- The Photo Documentation Habit That Saves You Money
- The Full Seasonal Checklist, Step by Step
- What You Can Check Yourself vs. What Needs a Technician
- Common Mistakes to Avoid
- When to Call a Professional
- Frequently Asked Questions
- The Bottom Line
BeforeAfterWhy Weatherford Conditions Create Specific Gate Failures
The soil in and around Weatherford is heavy with caliche, a calcium carbonate layer that sits anywhere from a few inches to a few feet below the surface. Caliche expands when wet and contracts when dry, and it doesn’t do either gradually. A dry spell followed by a hard rain can shift the ground under a gate post by a quarter inch in a week. That quarter inch travels up through the post, into the hinge plates, and lands in the motor’s gearbox as a limit-switch reading that no longer matches where the gate actually stops.
Then there’s the heat. Weatherford summers routinely push past 100°F, and the surface temperature of a dark metal gate can run 30 to 40 degrees hotter than air temperature. That heat does two things to an automated gate. It degrades battery chemistry inside the backup unit faster than the manufacturer’s spec sheet predicts, and it causes the steel in hinge plates to expand and contract against the softer wood of a cedar post, gradually chewing out the bolt holes unless the plates were installed with proper backing and the bolts are checked for torque.
And cedar is the third local factor. A lot of Weatherford homes, particularly in the older subdivisions and on acreage properties, have gates hung on cedar posts. Cedar resists rot better than most woods, which is why it’s used. But cedar checks and splits along its grain as it dries, and a hinge plate bolted into the face of a cedar post concentrates load on the outermost half inch of wood. Over time, the plate can crack the wood right behind it, and the gate sags.
You don’t need to memorize soil mechanics to maintain a gate. You need to know that these three things exist so that when you see a gate that’s always a little off, you know where to point the technician. Or, if you’re the one holding the checklist, you know which readings to write down and watch.
For a broader overview of how these failures present, our Gate Repair in Weatherford page covers the common repair paths with local price ranges.
The Limit-Switch Drift Check Most Checklists Skip
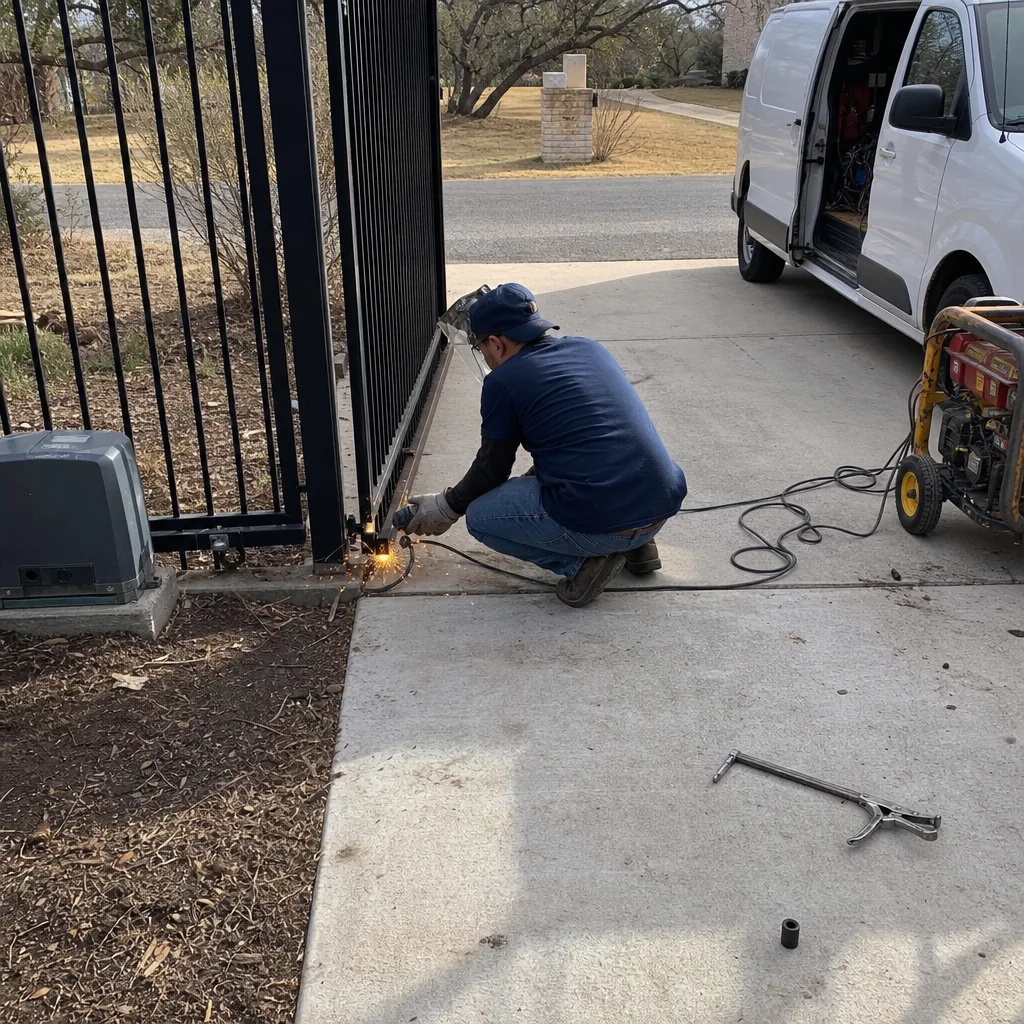
A limit switch is the sensor that tells the motor when the gate has fully opened or fully closed. On most residential gates in Weatherford, limit settings are either magnetic or mechanical, and they are set at installation to stop the gate at exactly the right travel. The problem in this area is that the setting doesn’t stay where you left it. Ground movement from caliche expansion and contraction tilts the post a fraction of a degree. The motor doesn’t know the post moved. It only knows the limit switch fired. So a gate that once stopped flush with its stop bracket now stops a half inch short, or a gate that closed fully now presses hard against the catch because the “closed” limit is effectively one degree past where it should be.
The check itself is simple, but you need a baseline to make it useful. A reading without a baseline is just a number.
- Open and close the gate once manually (using the release handle) to confirm smooth travel.
- Run the gate on the motor and watch where it stops at both ends of travel.
- Photograph the gap between the gate leaf and the stop bracket at the closed position, and the gate edge and the open stop at the open position.
- Write down those two gaps in a notebook or note on your phone, with the date.
- Repeat the check every three to four months. If the gap changes by more than a quarter inch, the limit switch has drifted and a technician should reset it.
Why not just reset it yourself? Because the adjustment is usually inside the motor housing, and on brands like FAAC and Viking, the limit setting is tied to other parameters that a single incorrect adjustment can throw off. The goal of the homeowner check is to detect drift early, not to eliminate every service call. Early detection means a $150 limit-switch reset instead of a $600 gearbox replacement after the motor has been stalling against a bad limit for six months.
In our experience in Weatherford, limit drift is the single most common issue we correct on gates that have been in place for two years or more. It’s also the check most likely to reveal a problem before the gate stops working entirely.
Hinge Plates and Cedar Posts: The Cracking Pattern to Watch
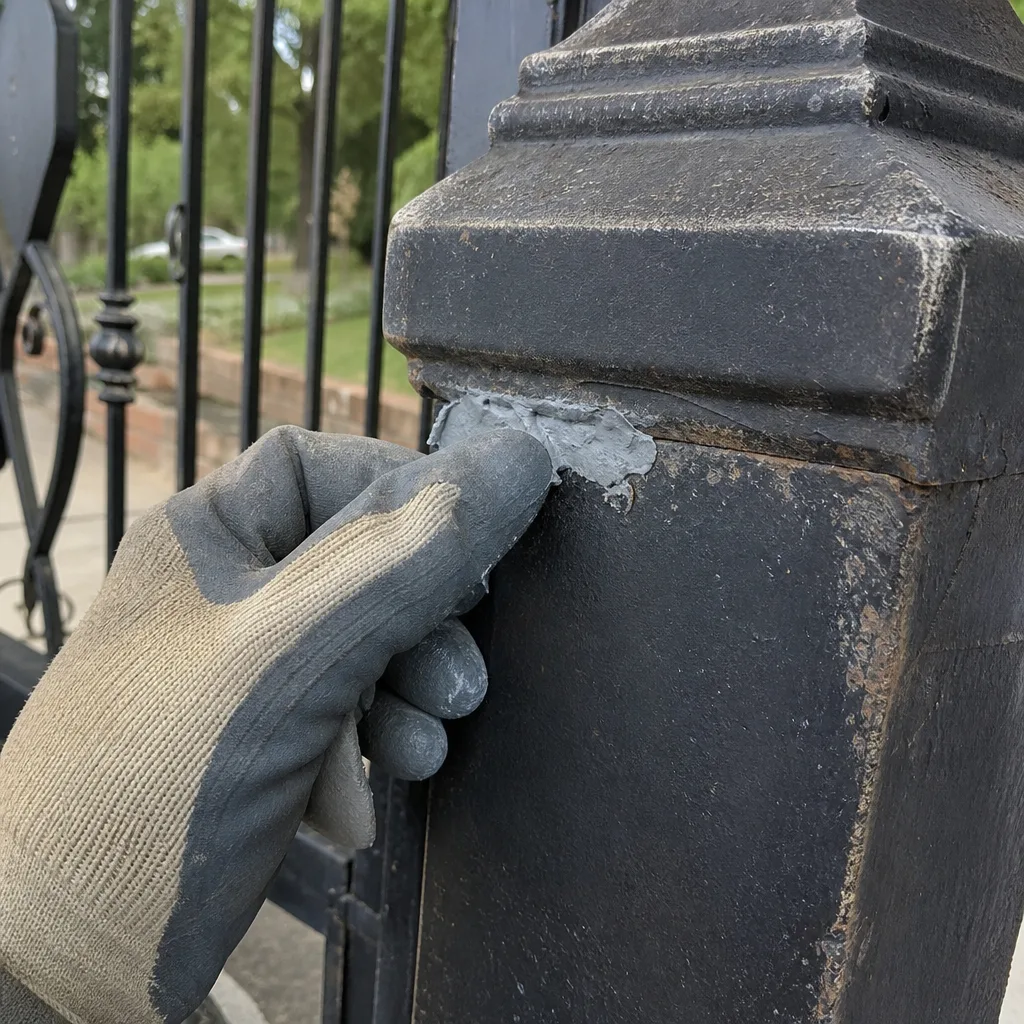
Steel post gates fail differently than cedar post gates. A steel post will bend or the weld will crack, both of which are visible and sudden. A cedar post fails quietly, from the inside out, and the first sign is usually a hinge plate that has begun to angle slightly away from the post face, or a hairline split running vertically behind the plate.
What’s happening is this: the gate leaf pulls outward and downward, and the hinge plate transfers that force into the top inch of the cedar. Cedar’s grain runs vertically, so the stress splits the wood along the grain line. The split widens every season as the gate cycles and the wood goes through wet-dry cycles. Eventually the top hinge bolts lose their grip, the gate drops a half inch at the latch side, and the motor starts fighting the dead weight of a misaligned gate.
Inspect cedar post hinge plates twice a year. Look for four specific signs:
- A gap between the back of the hinge plate and the post face at any corner of the plate
- A vertical crack running through or alongside any hinge bolt hole
- Rust staining below the hinge plate, which means water is getting into the bolt holes and the bolts are loosening
- Diagonal creaking or visible movement at the hinge when the gate reverses direction
If you catch a crack while it’s still tight and short, the fix is often a backing plate or a post wrap and new hardware, not a full post replacement. Miss it for a year and the post can split far enough that the only real fix is pulling the post, which on a gate that’s set in concrete means a much bigger job.
For homeowners considering a new gate rather than repairing an old one, our Gate Installation in Weatherford page covers how we set posts and build gates to avoid this pattern from day one.
Battery Backup Voltage in Texas Heat
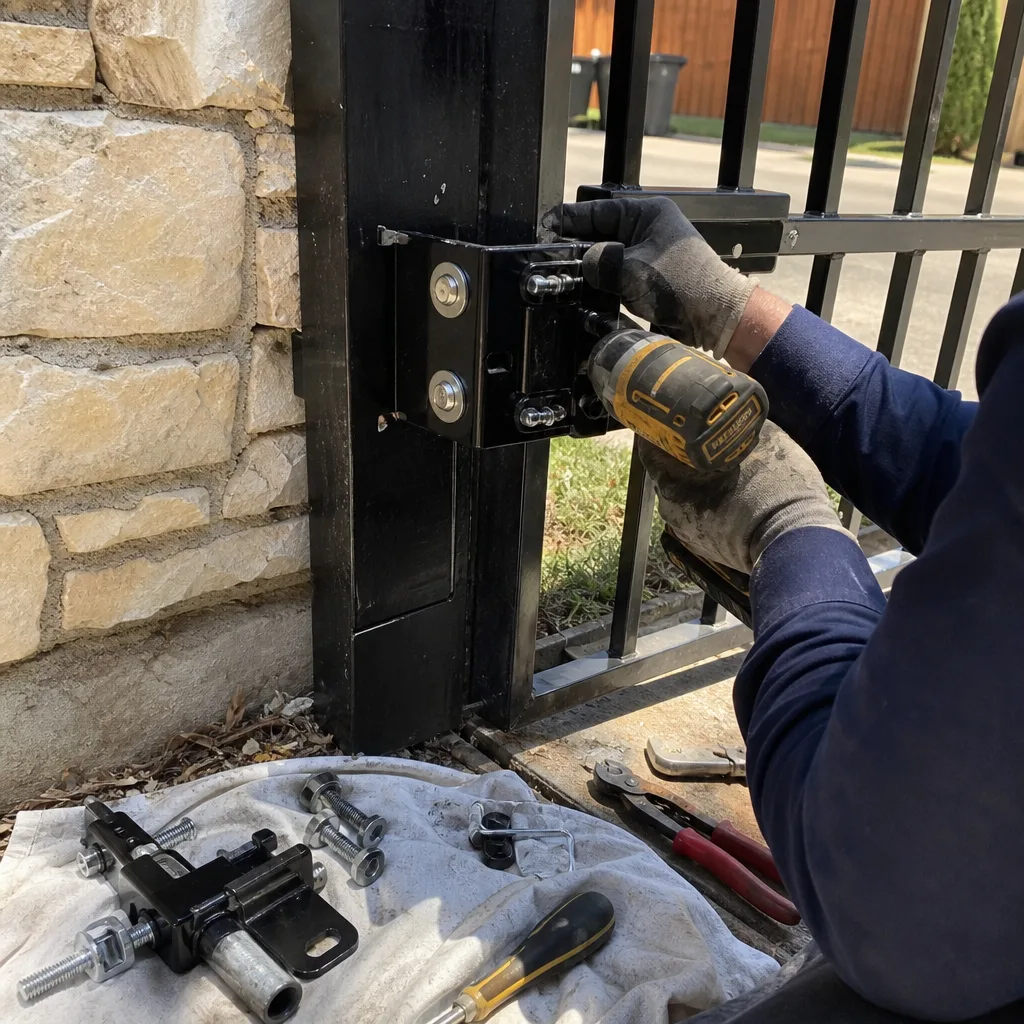
Most automatic gate openers sold in the last decade have a battery backup so the gate still functions during a power outage. The manufacturer’s expected battery life, usually two to four years, was almost always written for a mild climate: average annual temperature around 60°F, no sustained heat, no sustained cold. Weatherford is not that climate.
Lead-acid and AGM batteries lose capacity faster as ambient temperature climbs. For every sustained rise above roughly 77°F, the chemical reaction inside the battery speeds up, which shortens its useful life even when the gate never runs on battery power. A battery that would last four years in a coastal climate might last two and a half in a Weatherford summer if the battery enclosure is in full sun or a poorly ventilated metal box.
The check is straightforward. You’ll need a basic multimeter, the kind that costs $20 at any hardware store.
- Disconnect the battery backup from the charger per the opener’s manual (most have a simple pull connector).
- Let the battery rest for 15 minutes so the surface charge settles.
- Measure DC voltage across the terminals. A healthy 12V AGM battery reads 12.6 to 12.8 volts at rest.
- Anything below 12.4 volts means the battery is degrading. Below 12.0 it’s effectively done.
- Reconnect the battery and run the gate once on battery power (kill the breaker first) to confirm it opens and closes under load.
The heat also affects where the battery is mounted. If your opener’s battery sits in a metal enclosure that gets afternoon sun, the internal temperature can run 20 to 30 degrees above air temperature, which accelerates degradation further. A shaded enclosure or a simple reflective cover extends battery life measurably.
This matters more than people think. The battery backup is the thing you never notice until the power goes out and you need to get a vehicle out. At that moment, a dead battery turns a gate into a wall.
The Photo Documentation Habit That Saves You Money
Every maintenance item on this list becomes far more useful when you photograph it and date the photo. A photo of a hinge plate in March, compared with the same angle in August, tells you whether a crack is growing or stable. A photo of the closed-position gap tells you whether the limit setting has moved. A photo of the battery voltage reading on a multimeter gives you a data point instead of a memory.
This is the same habit we use on every Gate Repair services visit at Vance Gate Repair Weatherford. Before our technician leaves, the homeowner gets a photo log of what was found, what was adjusted, and what was installed, plus a written record of any part number. The reason is simple: documented evidence means nobody has to guess what was done six months later. If the same problem reappears, the next technician has a starting point.
You can run a lighter version of this at home. We suggest a dedicated album on your phone, named “Gate Maintenance.” Each entry is one photo of each check point, repeated on a schedule: both limit positions, both hinge plates on each post, the battery voltage reading, and the gate from the latch side. That’s eight or ten photos, twice a year. The whole routine takes 20 minutes.
When a technician does come out, your photo log gives them a baseline. That baseline can save you serious money. Instead of spending a service hour diagnosing a problem from scratch, the technician can see exactly when the change happened, which narrows the cause quickly. And when you have a written baseline, you’re in a much better position to compare estimates and confirm that the work proposed actually addresses the problem you documented.
For more on how we document our work, see our Vance Gate Repair Weatherford home page, which explains The Haven Standard and the 365-Day Done Right Promise.
The Full Seasonal Checklist, Step by Step
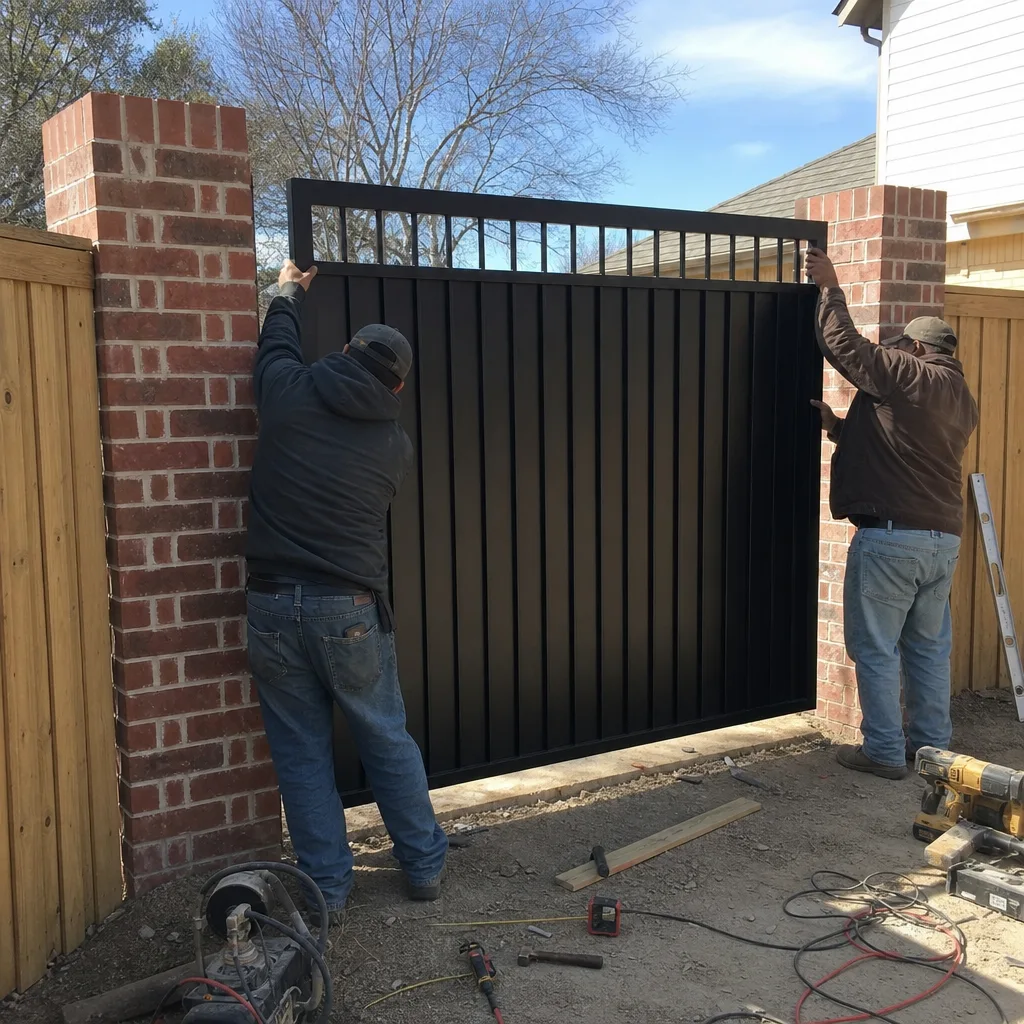
Run this checklist twice a year: once in late April or early May, before the hottest stretch, and once in late October or early November, after the first significant rain has settled the soil. The spring check focuses on heat-related items; the fall check focuses on movement-related items. Both are covered below in one combined list.
Spring (Late April to Early May)
- Battery voltage test. See the section above. Heat is about to hit, and a marginal battery will fail during the worst of it.
- Limit switch baseline. Run the gate, photograph the stop positions, record the gaps. This is your pre-summer baseline.
- Hinge plate inspection. Check for new cracks, gaps, or rust staining. Pay closest attention to the top hinge on the gate leaf that carries the opener arm.
- Chain or belt tension. If you have a chain-driven opener, check sag. A chain that’s too loose slaps and wears the sprocket. A belt that’s frayed at the edges is a future snapped belt.
- Photo-eye alignment. The photo-eye is the infrared beam that stops the gate if something crosses the path. Wipe the lenses with a dry cloth, verify the beam is aligned (the indicator light should be solid, not flashing), and test by waving your hand in front of the beam while the gate closes.
- Lubrication. Light oil on hinge pins and the opener arm pivot points. White lithium grease on chain drives if applicable. Do not lubricate the photo-eye lenses or any electrical connection.
Fall (Late October to Early November)
- Limit switch re-check. Compare against the spring baseline. A shift of a quarter inch or more means the post has moved and the limit should be re-set by a technician.
- Post movement check. Stand back and sight down the gate post. A post that’s out of plumb by even a few degrees transfers massive load to the hinges and the opener. If you can see the lean, it’s time to call.
- Hinge bolt torque. Using the correct socket, check that all hinge plate bolts are snug. Do not overtighten into cedar; the bolt seats should be firm but not crushing the wood fibers.
- Weather seal and enclosure inspection. Check the opener’s enclosure for dust, mud daubers, spider nests, and moisture intrusion. Parker County gets its share of windblown grit.
- Gate balance test. Disengage the opener using the manual release, then swing the gate by hand through its full arc. It should move without binding and should not drift closed or open on its own. A gate that drifts has a hinge or post problem that the motor has been compensating for.
- Closing force check. Run the gate and let it meet the stop. Listen for harsh contact. A gate that slams its stop is a limit-setting problem; a gate that presses and buzzes is stalling against the stop, which will burn out the gearbox over a year or two.
Key takeaways from the checklist:
- Run it twice a year, every year, and keep the photo log
- Any change from baseline is the signal to call before a minor adjustment becomes a replacement
- Most of this is visual and takes under half an hour
- The battery, the limits, and the cedar post hinges are the three Weatherford-specific failure points
What You Can Check Yourself vs. What Needs a Technician
This section is here because we believe in drawing the line honestly. Homeowners can and should do the visual and measurement work on this checklist. It keeps them informed, it detects problems early, and it makes the service conversation more productive when it happens. But some items truly belong in the hands of a trained gate technician, and no amount of YouTube confidence changes the fact that a high-tension spring or a live electrical connection can injure someone who approaches it without the right training and equipment. See Gate Repair Permits, Codes & Inspections in TX: What You Need to Know for related requirements.
Genuinely DIY-approved:
- Visual inspection of hinge plates, post plumb, gate balance, and surface rust
- Photo-eye lens cleaning and beam alignment check
- Battery voltage measurement with a multimeter
- Lubrication of hinge pins and opener arm pivots
- Photo log maintenance
- Chain tension visual inspection (not adjustment on most models)
Genuinely technician-only:
- Limit switch adjustment on any motor (the switch is inside the housing, and the motor’s travel parameters are calibrated to the installation)
- Opening the motor housing for any reason other than battery disconnection per the manual
- Any work on a gate spring under tension, including tension springs on cantilever and slide gates
- Repair or replacement of hinge plates on a load-bearing post
- Any wiring repair beyond reconnecting a clearly labeled pull connector
- Post resetting or replacement
The safety note here is not a formality. Gate springs, particularly on older slide and cantilever gates, hold enough stored energy to cause serious injury if they’re released incorrectly. A gate leaf that weighs 600 pounds doesn’t need much momentum to break a hand or worse. As a general rule: if the fix requires disassembly of a spring, a motor housing, or a hinge that’s under load, call someone who does this every day.
For gate motor and opener specifics, our Gate Motor & Opener in Weatherford page explains the brands we service and the typical service patterns in Weatherford.
Common Mistakes to Avoid
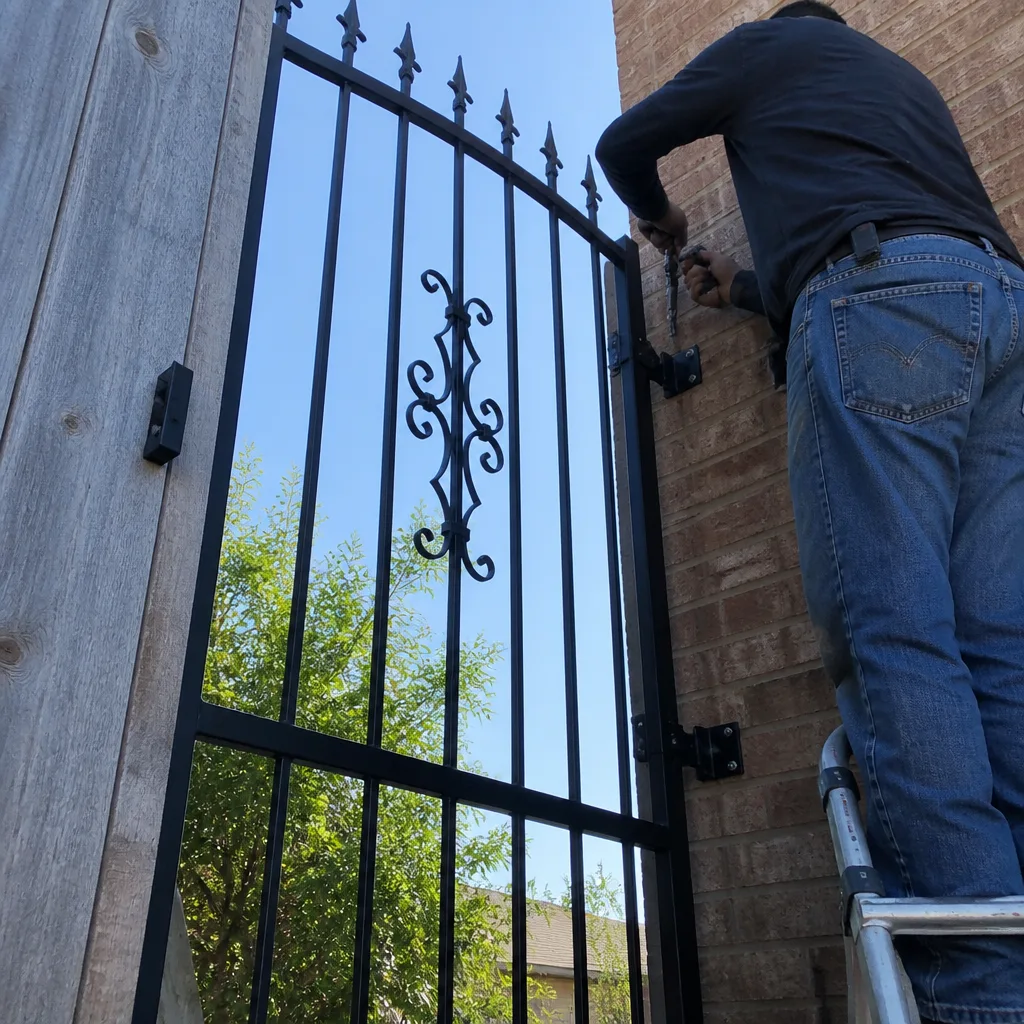
- Ignoring limit drift because the gate “still works.” A gate that stops short or presses the stop is already wearing the gearbox and the hinge hardware. Drift never corrects itself, and the repair cost increases with every month it’s ignored.
- Overtightening hinge bolts into cedar post. A socket wrench and a determined hand can crush the wood fibers behind a hinge plate, which creates the exact crack pattern you’re trying to prevent. Snug is the target, not tight.
- Using WD-40 where you need a real lubricant. WD-40 is a solvent that happens to leave a light film. Hinge pins want a real oil, and chains want white lithium or a dedicated chain lube. Solvent alone accelerates wear on a chain drive.
- Testing the battery backup by unplugging the opener from the wall. That disconnects the motor from the charger but doesn’t test the battery under load the way a breaker kill does, and on some units it leaves the control board unpowered in a way that won’t cycle the gate. Kill the breaker, then run the gate.
- Skipping the photo log because “you’ll remember.” You won’t, and the detail that matters is usually the one that changed by a quarter inch over eight months. Dated photos are the only reliable baseline.
- Lubricating the track on a slide gate with grease. Grease captures caliche dust and Parker County grit, forming a grinding paste. A dry, clean track is better than a greased one on almost every residential slide gate in this area.
- Waiting until the gate fails to call. The whole point of maintenance is that a $150 limit reset on a working gate is cheaper than a $700 motor replacement on a dead one. The checklist works only if you act on what it tells you.
When to Call a Professional
Call a professional when the gate no longer stops where it should, when a hinge plate has visibly pulled away from a cedar post, when the battery reads below 12.4 volts at rest, or when the gate binds, screeches, or stalls during travel. Also call if you’ve lost the manual release, if the gate reverses for no reason mid-travel, or if the opener hums but the gate doesn’t move. These are not adjustment items. They are symptoms of a mechanical or electrical failure that gets more expensive the longer it runs. Vance Gate Repair Weatherford offers free estimates in Weatherford, with a written price handed over before any work starts. Call (940) 353-4158 and a live person will answer, any hour, any day.
Frequently Asked Questions
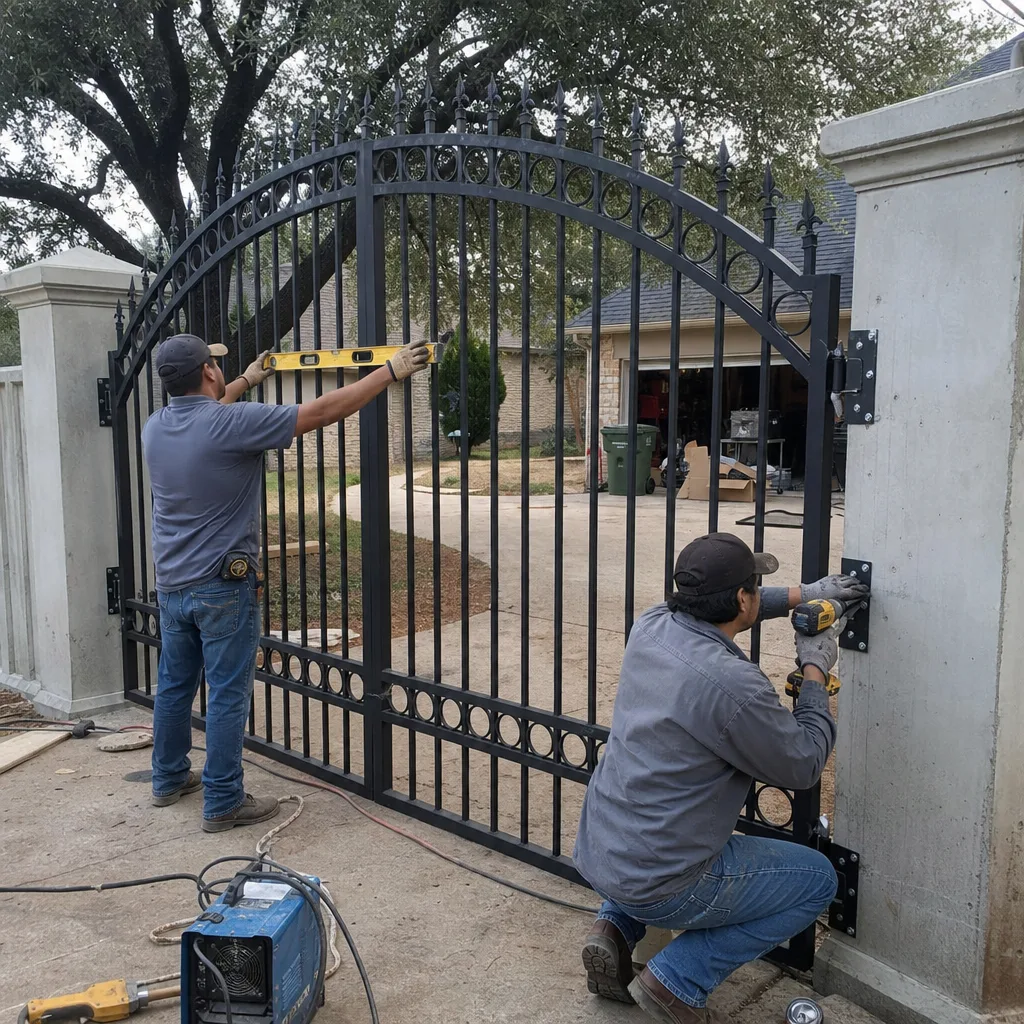
Twice a year is the right cadence for Weatherford’s climate: once in late spring before the heat peaks, and once in late fall after the rains have settled the soil. More often than that is overkill for a residential gate, and less often means you’ll miss the early signs of limit drift or post movement. Each session takes about 20 to 30 minutes once the photo log habit is established.
Limit-switch drift from ground movement is the most common early-catch item in Weatherford. The caliche soil expands and contracts through wet-dry cycles, tilting posts by fractions of a degree and throwing off the motor’s stop settings. A twice-yearly baseline measurement catches that drift before it becomes a stalled motor or a stripped gearbox.
We don’t recommend it. The limit switch is inside the motor housing, and the adjustment is tied to the motor’s travel calibration. A single incorrect change can throw off the soft-start and soft-stop parameters or cause the gate to overtravel into its stop, and the fix is more expensive than the original adjustment would have been. Measure and document, then call a technician for the adjustment itself.
Cedar post gates fail from the inside out. The hinge plate concentrates load on the outer face of the post, and cedar’s vertical grain splits behind the plate. Steel post gates fail at the weld or by bending, which is visible and sudden. Cedar gives you a warning window: a hairline crack, a plate starting to angle away from the post, rust staining at the bolt holes. If you inspect twice a year, you’ll catch the crack before the post is unsalvageable.
In Weatherford, expect two to three years from a typical AGM battery backup rather than the three-to-four-year figure many manufacturers list. Sustained heat above 77°F accelerates the chemical degradation inside the battery, and an enclosure that sits in direct sun makes it worse. A shaded enclosure or a reflective cover will stretch battery life measurably, and a spring voltage check will tell you when the battery is approaching the end of its useful life.
A maintenance visit that includes limit-set verification, battery test, hinge inspection, lubrication, and a documented photo record typically runs between $125 and $225 in Weatherford. The price depends on the opener brand, the gate type, and what the technician finds. At Vance Gate Repair Weatherford, the price is written and handed over before any work starts, so the number on the quote is the number you pay. Call (940) 353-4158 for an exact quote.
The Bottom Line
Weatherford gates fail in patterns that a generic checklist misses. The caliche soil under your driveway moves, the summer heat cooks your battery backup faster than the manufacturer’s spec suggests, and the cedar posts holding your hinges crack along their grain, quietly, until the gate sags. A twice-yearly maintenance routine built around those three local failure modes will catch problems while they’re still cheap to fix. Take dated photos, write down your baseline readings, check the hinges for cracks, and test the battery with a meter. Browse our more guides & resources for additional maintenance tips. When something changes from baseline, call a technician before the gate stops working entirely. The maintenance habit costs half an hour twice a year, and it’s the difference between a $150 adjustment and a $700 replacement.
For a free estimate in Weatherford, call (940) 353-4158. A live person answers, and the price you’re quoted is the price you’ll pay, in writing, before the work starts.
Written by Adrian Vance, Owner at Vance Gate Repair Weatherford, serving Weatherford since 2014.